
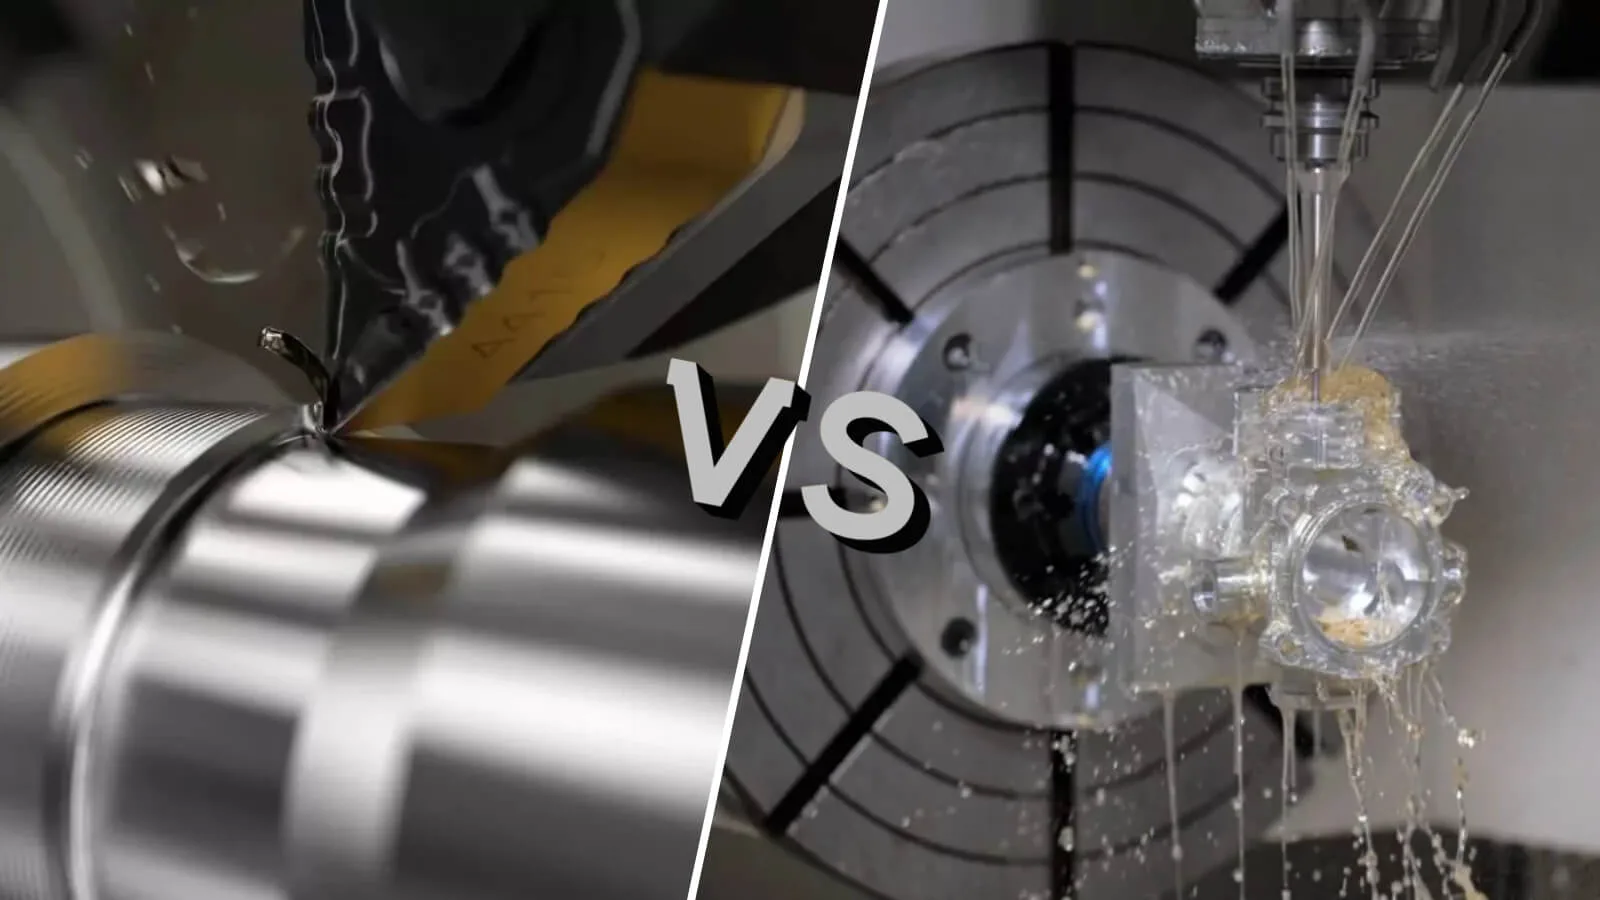
Ask 10 people in a workshop which gear cutting method works best. You’ll likely get 10 different answers. Each person will defend their favorite method too. This makes sense. Gears get made through hobbing, shaping, shaving, and milling. But each process works in a completely different way. So picking the wrong one for a job often backfires. It usually creates more rework than the time you saved by rushing the choice.
Where Hobbing Actually Excels
Gear hobbing uses a continuous motion to cut gears. The hob and the workpiece rotate together at the same time. This process slowly cuts the full tooth shape. It does this without needing separate passes. Gear hob cutters handle many types of work. This includes spur gears, helical gears, involute splines, sprockets, worm wheels, and timing pulleys. The module range usually runs from 0.3mm to 40mm. The exact range depends on the tool used.
What makes hobbing so efficient is its steady cutting motion. There’s no stopping between teeth like other methods require. This means faster production for large orders. But hobbing has one clear limit. It struggles with internal gears and tight shoulder clearances. In these cases, the hob simply doesn’t have enough room to work properly.
Why Shaping Handles What Hobbing Can’t
This is where gear shaping steps in. Unlike hobbing’s rotary motion, shaping uses a back and forth stroke. The cutter moves up and down against the workpiece. It slowly shapes the tooth profile through repeated passes. This difference matters a lot. Gear Shaper Cutters can reach internal gears and tight spaces that hobs simply cannot.
Shaper cutters come in a few types. Disc type cutters work for standard external and internal jobs. Shank type cutters handle internal gears with small diameters. Extended back boss cutters solve a specific problem too. They work when a disc cutter’s clamping nut would hit the workpiece fixture. The module range here runs from 0.5mm to 16mm. That’s smaller than hobbing’s range. But shaping makes up for it. It can reach shapes that hobbing simply cannot touch.
Shaving Comes After, Not Instead Of
Here’s something worth clearing up early. Shaving doesn’t compete with hobbing or shaping at all. Instead, it’s a finishing step that follows one of them. First, a gear gets roughed out through hobbing or shaping. Then, Gear Shaving Cutters refine the tooth surface. This step fixes small profile errors. It also improves the surface finish. As a result, the gear runs much quieter once it’s actually in use.
This process removes tiny amounts of material from the gear teeth. This tightens up the dimensional accuracy. Best of all, it skips the need for expensive grinding, which many shops assume is required. Shaving cutters come in four types, conventional, diagonal, underpass, and plunge. They typically handle module ranges between 1mm and 8mm. This makes them ideal for external spur and helical gears. These gears need that final layer of precision before shipping out.
Milling’s Broader, More Flexible Role
Milling cutters work differently from the other three methods. They aren’t limited to gear tooth profiles alone. Milling Cutters can handle standard involute spur gears. They also work on sprockets, splines, worm profiles, serrations, and rack cutting. Special concave or convex shapes are possible too. The module range runs from 1 to 25. This is the widest range of all four methods.
But this flexibility comes with a trade off. Milling uses indexed cutting instead of continuous motion. The tool positions itself, cuts one tooth space, and then repositions. Then it repeats this process again. Because of this, milling works best for smaller jobs. It suits prototype work well too. It’s also ideal for special shapes where a dedicated hob or shaper cutter wouldn’t make financial sense for just one job.
Comparing All Four at a Glance
| Process | Cutting Motion | Best Suited For | Typical Module Range |
| Hobbing | Continuous rotary generation | High volume external gears, splines, sprockets, worms | 0.3 – 40 mm |
| Shaping | Reciprocating stroke | Internal gears, shouldered components, tight clearance areas | 0.5 – 16 mm |
| Shaving | Fine material removal, finishing pass | Surface finishing after hobbing or shaping | 1 – 8 mm |
| Milling | Indexed cutting, one tooth at a time | Low volume runs, special forms, prototype work | 1 – 25 mm |
Choosing Based on the Actual Job
No single process wins every time. Each one solves a different manufacturing problem. For example, large production runs of external spur gears need hobbing’s speed. Parts with internal teeth or tight shoulders need shaping instead. Once roughing is done through either method, shaving adds the final surface finish. This step delivers the precision that high performance parts truly need. And for special shapes, small batches, or unusual geometries, milling remains the smarter, more affordable choice.
Building a Process Around the Actual Requirement
The real challenge in gear production isn’t choosing a favorite method. It’s matching the right geometry, volume, and finish needs to the best process. Sometimes one method alone isn’t enough. In these cases, shops combine two processes together. They might rough out a gear with a hob or shaper. Then they finish it with a shaving cutter. Understanding how each method actually works matters most here. This knowledge, not just knowing the names, is what separates informed tooling decisions from guesswork based on habit.